Chocolate Bread Recipe: A Deliciously Sweet Treat

Introduction

Chocolate bread is a delightful fusion of rich chocolate flavor and soft, fluffy bread. Perfect as a dessert or a snack, it’s a versatile treat that appeals to all ages. Unlike a typical cake or quick bread, chocolate bread strikes a balance between sweetness and bread-like texture, making it both satisfying and indulgent.

Chocolate Bread Recipe

The origins of chocolate bread can be traced back to European bakeries, where it emerged as a luxury treat combining cocoa with traditional bread-making techniques. Today, variations like Chocolate Cobbler Recipe and Chocolate Pound Cake Recipe have cemented their place in kitchens and bakeries worldwide, offering something for every chocolate lover.


History and Popularity for Chocolate Bread Recipe

Chocolate bread traces its roots to European bakeries, where cocoa and chocolate were first introduced as luxury ingredients. Over time, it evolved into a cherished treat found in bakeries and kitchens worldwide. While it’s not as sweet as chocolate cake, its soft texture and rich cocoa flavor make it a versatile addition to breakfast tables, tea-time snacks, or dessert spreads.

In many cultures, chocolate bread is a symbol of indulgence. French boulangeries often feature pain au chocolat, a croissant-like bread with chocolate filling, while Italian bakeries showcase chocolate-studded panettone during the holidays. The modern version of chocolate bread has gained popularity for its simplicity and ability to cater to both sweet and savory cravings. Whether enjoyed plain, toasted, or slathered with a creamy spread, it’s a universal crowd-pleaser.


Ingredients for Chocolate Bread Recipe

Making chocolate bread from scratch is easier than you might think. Here’s what you’ll need:

  1. Dry Ingredients:
    • All-Purpose Flour (3 cups): The foundation for the bread’s structure.
    • Unsweetened Cocoa Powder (½ cup): Adds a rich, chocolatey flavor.
    • Granulated Sugar (¾ cup): Provides sweetness to balance the cocoa.
    • Instant Yeast (2 ¼ teaspoons): Helps the bread rise for a fluffy texture.
    • Salt (1 teaspoon): Enhances the overall flavor.
  2. Wet Ingredients:
    • Warm Milk (1 cup): Activates the yeast and creates a soft dough.
    • Melted Butter (4 tablespoons): Adds richness to the bread.
    • Egg (1 large): Binds the dough and contributes to its soft texture.
    • Vanilla Extract (1 teaspoon): Adds a warm, aromatic touch.
  3. Mix-Ins (Optional):
    • Chocolate Chips or Chunks (½ cup): For pockets of melted chocolate in the bread.
    • Chopped Nuts (¼ cup): Adds crunch and complements the chocolate flavor.

Using high-quality cocoa powder and chocolate chips will result in a richer and more decadent bread. Ensure all ingredients are fresh for the best results.

Chocolate Bread Recipe

Necessary Kitchen Tools

  1. Mixing Bowls: For combining dry and wet ingredients.
  2. Measuring Cups and Spoons: Accuracy is key for baking success.
  3. Whisk or Sifter: To aerate the dry ingredients and remove lumps.
  4. Dough Hook or Wooden Spoon: For kneading the dough by hand or in a stand mixer.
  5. Clean Kitchen Towel: To cover the dough during proofing.
  6. Loaf Pan: For shaping the bread. A standard 9×5-inch loaf pan works perfectly.
  7. Oven Thermometer: Ensures your oven temperature is accurate.

Step-by-Step Recipe Guide for Chocolate Bread Recipe

  1. Activate the Yeast
    • In a small bowl, combine 1 cup of warm milk (about 110°F) and 2 ¼ teaspoons of instant yeast. Stir gently and let it sit for 5-10 minutes until it becomes frothy. This step ensures the yeast is active and ready to help the dough rise.
  2. Mix the Dry Ingredients
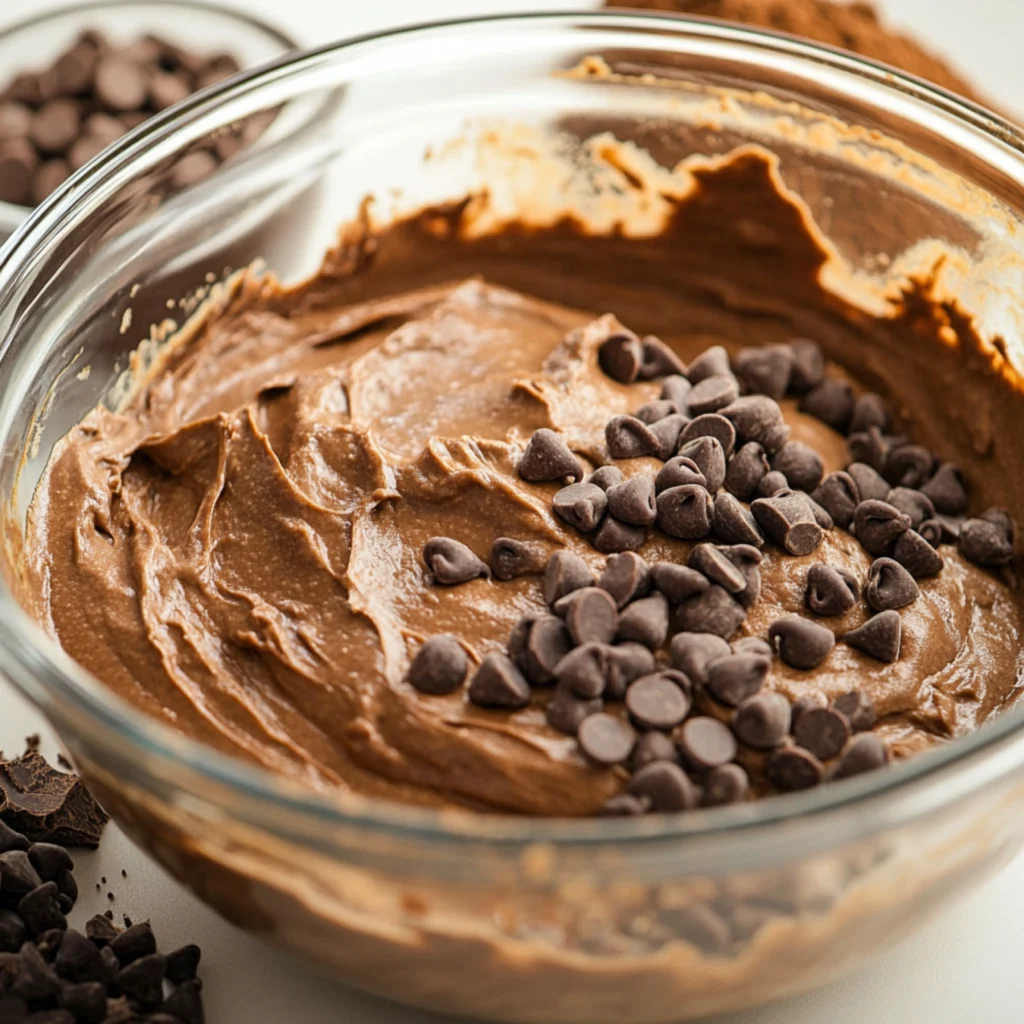
    • In a large mixing bowl, sift together 3 cups of all-purpose flour, ½ cup of unsweetened cocoa powder, ¾ cup of granulated sugar, and 1 teaspoon of salt. Use a whisk to combine everything evenly, ensuring no lumps remain.
  3. Combine Wet Ingredients
    • In another bowl, whisk together the activated yeast mixture, 4 tablespoons of melted butter, 1 large egg, and 1 teaspoon of vanilla extract. Make sure the ingredients are well combined for a smooth consistency.
  4. Form the Dough
    • Gradually pour the wet ingredients into the dry ingredients, mixing with a wooden spoon or stand mixer fitted with a dough hook. Continue mixing until the dough starts to come together. It should be soft, slightly sticky, but manageable. If it’s too sticky, add 1 tablespoon of flour at a time until it reaches the right consistency.
  5. Knead the Dough
    • Transfer the dough to a lightly floured surface and knead by hand for 8-10 minutes, or use a stand mixer on low speed for 5-6 minutes. The dough should become smooth and elastic. If desired, knead in ½ cup of chocolate chips or chunks and ¼ cup of chopped nuts during this step.

Remaining steps for Chocolate Bread Recipe

  1. First Proof
    • Place the dough in a greased bowl and cover it with a clean kitchen towel or plastic wrap. Let it rise in a warm, draft-free place for 1 to 1.5 hours, or until it doubles in size.
  2. Shape the Dough
    • Punch down the dough to release air bubbles, then shape it into a loaf. Place it in a greased 9×5-inch loaf pan, smoothing the top for even baking.
  3. Second Proof
    • Cover the pan with a kitchen towel and let the dough rise again for 30-45 minutes. It should rise slightly above the edge of the pan.
  4. Bake the Bread
    • Preheat your oven to 350°F (175°C). Bake the bread for 30-35 minutes, or until the top is firm and a deep chocolate brown. To test doneness, insert a toothpick or skewer into the center—it should come out clean or with a few moist crumbs.
  5. Cool and Serve
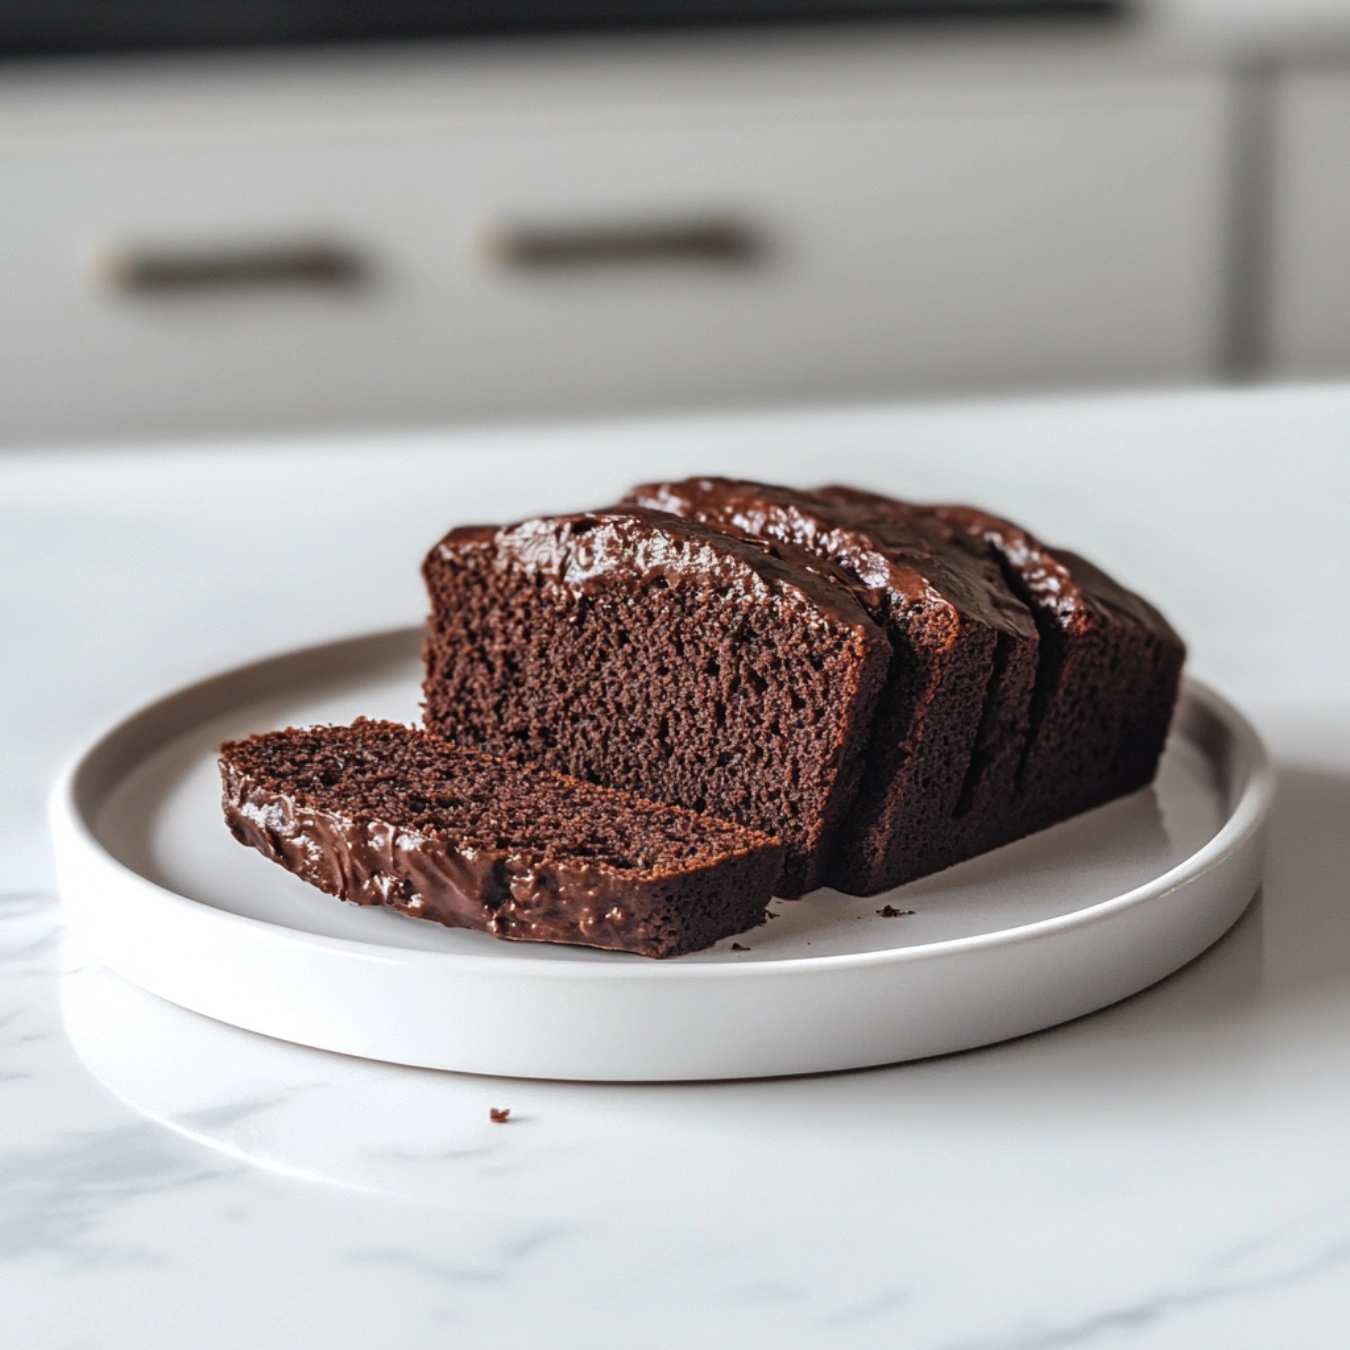
  • Remove the bread from the oven and let it cool in the pan for 10 minutes. Then transfer it to a wire rack to cool completely. Slice and enjoy plain, with butter, or topped with your favorite spread!
Chocolate Bread Recipe

Tips for Perfect Chocolate Bread Recipe

  1. Check the Yeast
    • Ensure your yeast is fresh and active. If the yeast doesn’t foam during activation, it might be expired, and the bread won’t rise properly.
  2. Measure Ingredients Accurately
    • Use measuring cups and spoons for precise amounts. Baking is a science, and even small deviations can affect the final texture.
  3. Don’t Overknead
    • Knead the dough just until it’s smooth and elastic. Overkneading can make the bread dense and tough instead of soft and fluffy.
  4. Proof in a Warm Spot
    • Yeast thrives in a warm environment. If your kitchen is cold, place the bowl in an oven with the light on or near a slightly warm surface for better proofing.
  5. Avoid Overbaking
    • Chocolate bread can dry out if baked too long. Check it around the 30-minute mark using the toothpick test. The bread should be moist but fully set.
  6. Use Quality Cocoa and Chocolate
    • Premium cocoa powder and chocolate chips make a noticeable difference in flavor, giving your bread a richer and more indulgent taste.
  7. Add Mix-Ins Wisely
    • If adding chocolate chips or nuts, incorporate them evenly during the kneading process to prevent clumps.

Serving Suggestions

  1. Classic with Butter
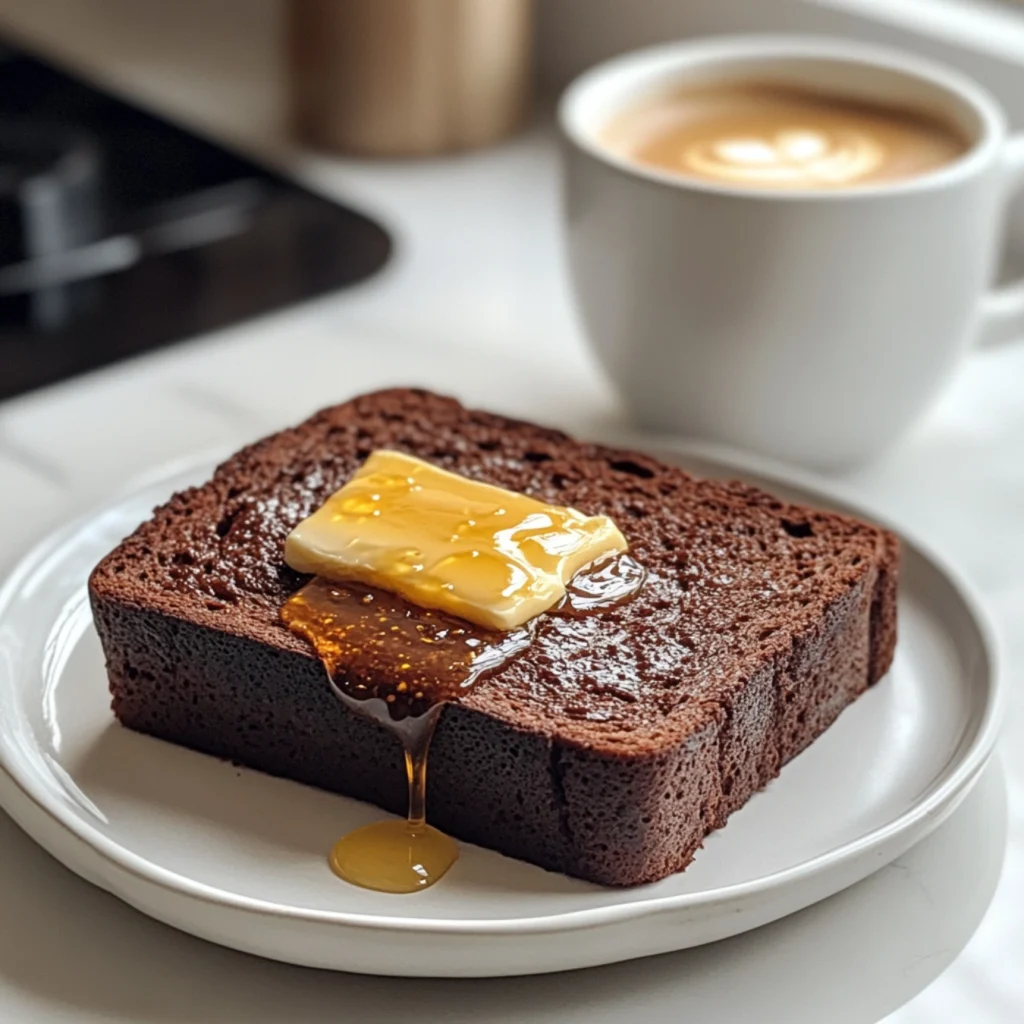
    • Spread a thin layer of butter on a warm slice for a simple yet delightful treat.
  2. With Cream Cheese or Nut Butter
    • Add a dollop of cream cheese, peanut butter, or almond butter for a creamy and flavorful pairing.
  3. Toast It
    • Toast slices of chocolate bread for a slightly crispy exterior and warm, gooey chocolate inside.
  4. Dessert Twist
    • Top a slice with whipped cream, fresh berries, or a drizzle of chocolate sauce to transform it into an elegant dessert.
  5. Coffee Companion
    • Pair chocolate bread with a hot cup of coffee or a latte for a perfect breakfast or snack experience.

Creative Variations

  1. Chocolate Chip Bread
    • Fold ½ cup of chocolate chips into the dough before the first proof. This creates pockets of melted chocolate throughout the bread, enhancing its richness.
  2. Marble Chocolate Bread
    • Divide the dough into two portions and mix extra cocoa powder into one half to create a darker chocolate layer. Layer the two portions in the loaf pan and swirl them with a knife for a marbled effect.
  3. Nutty Chocolate Bread
    • Add ½ cup of chopped walnuts, pecans, or almonds to the dough for added crunch and flavor. Toast the nuts beforehand for a more robust taste.
  4. Orange-Chocolate Bread
    • Mix in 1 tablespoon of orange zest and a teaspoon of orange extract for a citrusy twist. The combination of orange and chocolate is both refreshing and indulgent.
  5. Vegan Chocolate Bread
    • Substitute dairy milk with almond or oat milk, use plant-based butter, and replace the egg with a flaxseed or chia seed egg (1 tablespoon of ground seeds mixed with 3 tablespoons of water).
  6. Spicy Chocolate Bread
    • Add a pinch of cayenne pepper or a teaspoon of cinnamon for a subtle, warming spice that complements the chocolate flavor.

Storage and Shelf Life

  1. Room Temperature Storage
    • Wrap the cooled bread tightly in plastic wrap or place it in an airtight container. Store it at room temperature for up to 3 days. Keep it away from direct sunlight or heat sources.
  2. Refrigeration
    • If you prefer longer storage, refrigerate the bread in an airtight container. It will stay fresh for up to a week. Bring it to room temperature or warm it in the microwave before serving for the best texture.
  3. Freezing Instructions
    • Chocolate bread freezes well for up to 3 months. Wrap it tightly in plastic wrap, then place it in a freezer-safe bag or container. Thaw overnight in the refrigerator or at room temperature.
  4. Reheating Tips
    • Reheat individual slices in a toaster or warm the entire loaf in a preheated oven at 300°F (150°C) for 10-15 minutes. Cover with foil to prevent drying out.
Chocolate Bread Recipe

FAQs

  1. Can I Make Chocolate Bread Without a Loaf Pan?
    Yes, you can bake the bread on a baking sheet, shaping it into a round or oval loaf. Adjust the baking time and keep an eye on it as it may cook faster than in a loaf pan.
  2. How Do I Know When the Bread Is Done?
    The bread is ready when the top is firm and a toothpick inserted into the center comes out clean or with a few moist crumbs. Alternatively, tap the bottom of the loaf—it should sound hollow.
  3. Can I Add Fillings Like Nutella or Jam?
    Absolutely! Roll out the dough after the first proof, spread a thin layer of Nutella, jam, or another filling, and then roll it up before placing it in the loaf pan.
  4. Why Didn’t My Dough Rise?
    If your dough didn’t rise, the yeast might have been inactive. Ensure the milk is warm (not hot) and fresh yeast is used. A cold environment can also slow down the rising process—try proofing in a warmer spot.
  5. Can I Make This Recipe Gluten-Free?
    Yes, substitute the all-purpose flour with a gluten-free baking flour blend. Be sure the cocoa powder and any mix-ins you use are certified gluten-free.
  6. What Can I Use Instead of Cocoa Powder?
    If you don’t have cocoa powder, melted dark chocolate can be a substitute. Adjust the liquid in the recipe slightly to accommodate the added moisture.

Conclusion

Chocolate bread is a deliciously indulgent treat that’s perfect for any occasion. Whether enjoyed as a breakfast loaf, an afternoon snack, or a decadent dessert, its rich flavor and soft texture are sure to delight. From its simple preparation to the endless variations you can try, chocolate bread is a versatile recipe that can be customized to suit any taste.

Now that you have all the tips and tricks, it’s time to head to the kitchen and bake a loaf of this irresistible bread. Serve it fresh, pair it with your favorite toppings, and watch as it becomes a family favorite.

With its rich, cocoa-infused flavor and versatile applications, chocolate bread is a must-try for home bakers. Explore related recipes like Baker’s German Chocolate Cake Recipe for even more inspiration. Happy baking!
Happy baking!

Leave a Comment