
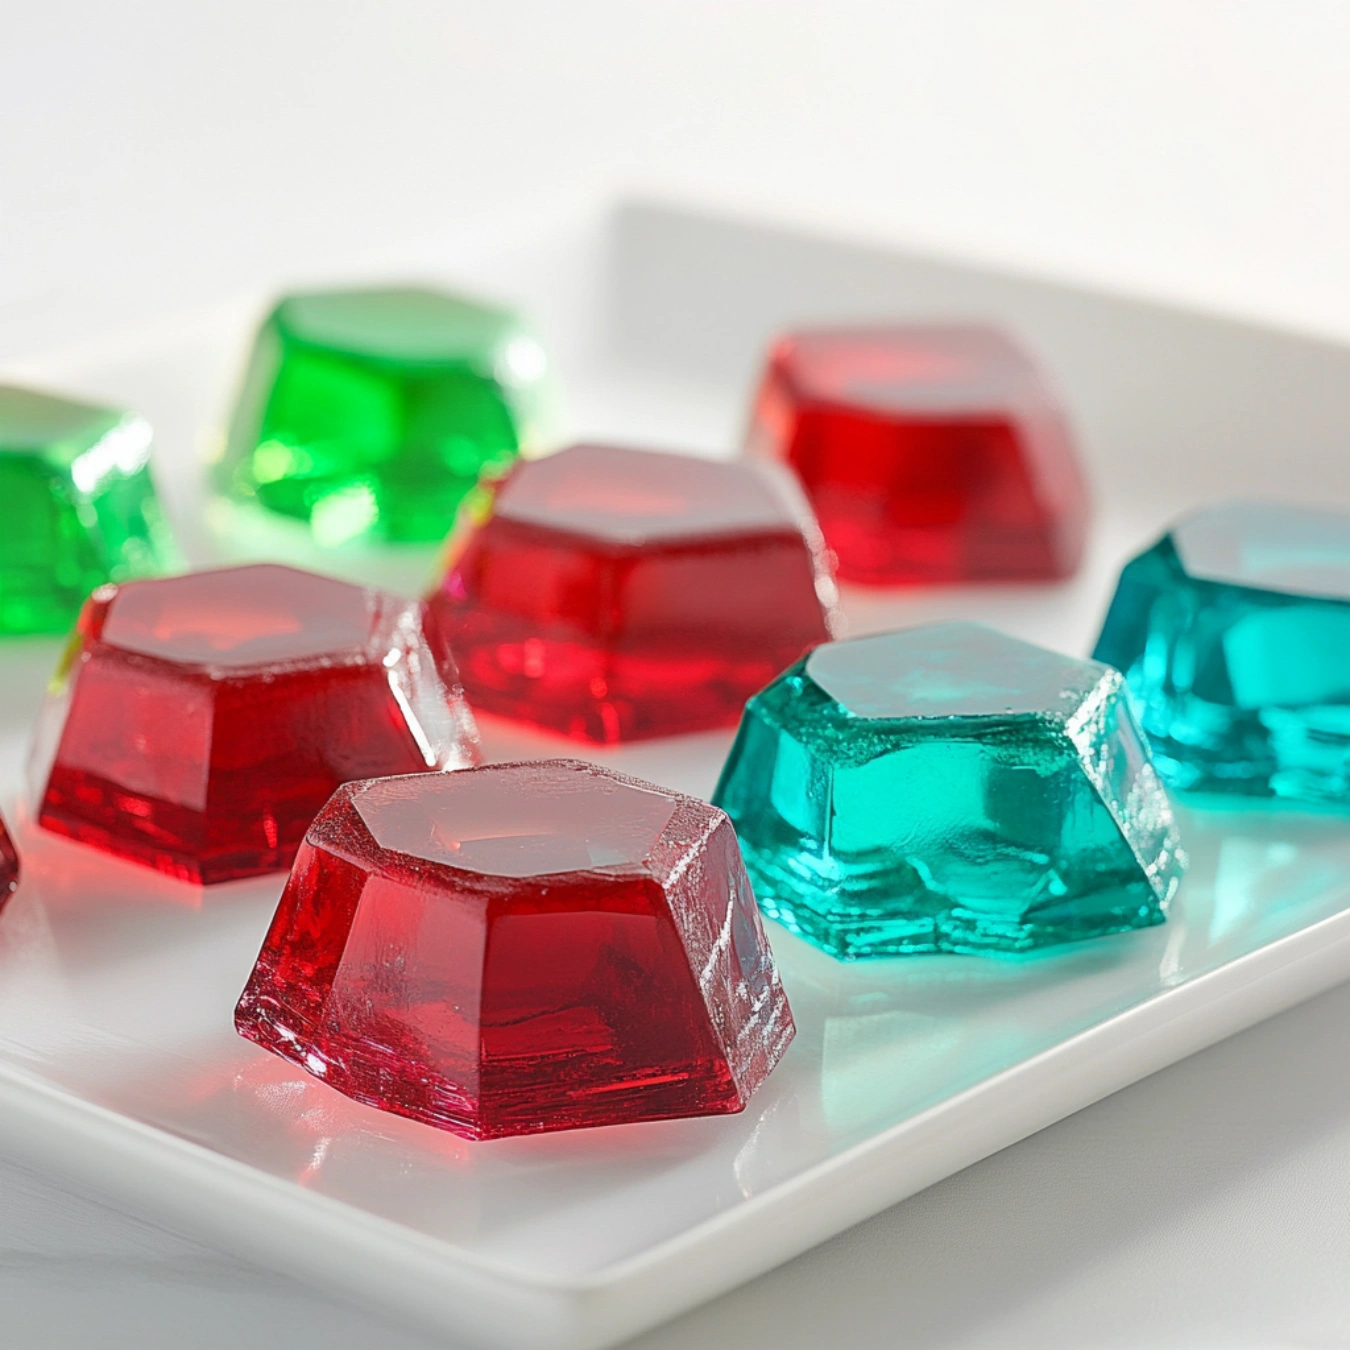
You’re in for a treat if you’ve ever been enthralled with vibrantly colored, glittering rock candy. Not only is this homemade crystal candy recipe simple and entertaining to make, but it also seems like a small scientific experiment right in your kitchen. The best thing is that observing the sugar crystals gradually develop over a few days is almost wonderful. You get to eat the output!
Perfect for children, celebrations, or just a nostalgic pleasure, these glittering rock candy sticks can be flavored with vanilla, strawberry, mint, or any extract your taste buds enjoy. You may also create them in a rainbow of vivid colors with a small food coloring addition!
Let’s begin this wonderful, scientifically based journey.
Table of Contents
Why Will You Love This Recipe?
✔ Fun & Learning : Excellent science experiment suitable for adults and children!
✔ Customizable: Select your preferred tastes and colors to make it yours.
✔ Simple Ingredients: just sugar, water, and flavoring!
✔ Perfect for Gifts & Parties – Birthdays, weddings, or holidays would find these brilliant candy sticks perfect treats.
For those who love beautiful, artistic desserts, check out this Dubai Chocolate Bar Recipe, another luxurious confection that captivates with its aesthetic appeal.
Ingredients
Here’s everything you’ll need to make glittering crystal sweets right at your house:
For the Candy Base:
- Two cups of granulated sugar are the major component creating the sugar crystals.
- One cup of water melts the sugar and produces syrup.
- Flavoring Extract (½ tsp) : Choose from vanilla, mint, strawberry, lemon, or any favorite flavor!
- Food coloring (optional) for brilliant, multicolored sweets.
Regarding the setup:
- Wooden Skewers or String: The surface for crystal growth.
- Clothespins to fasten the skewers in place.
- Hold the sugar syrup while the crystals develop in a clean glass jar or heatproof cup.
👉 The complete ingredient list with measurements is in the recipe card below!
For those who love experimenting with unique, natural sweets, check out this Gipfeli Recipe – Authentic Swiss Pastries, a traditional, flaky delight.
Making Crystal Candy, sometimes known as Rock Candy
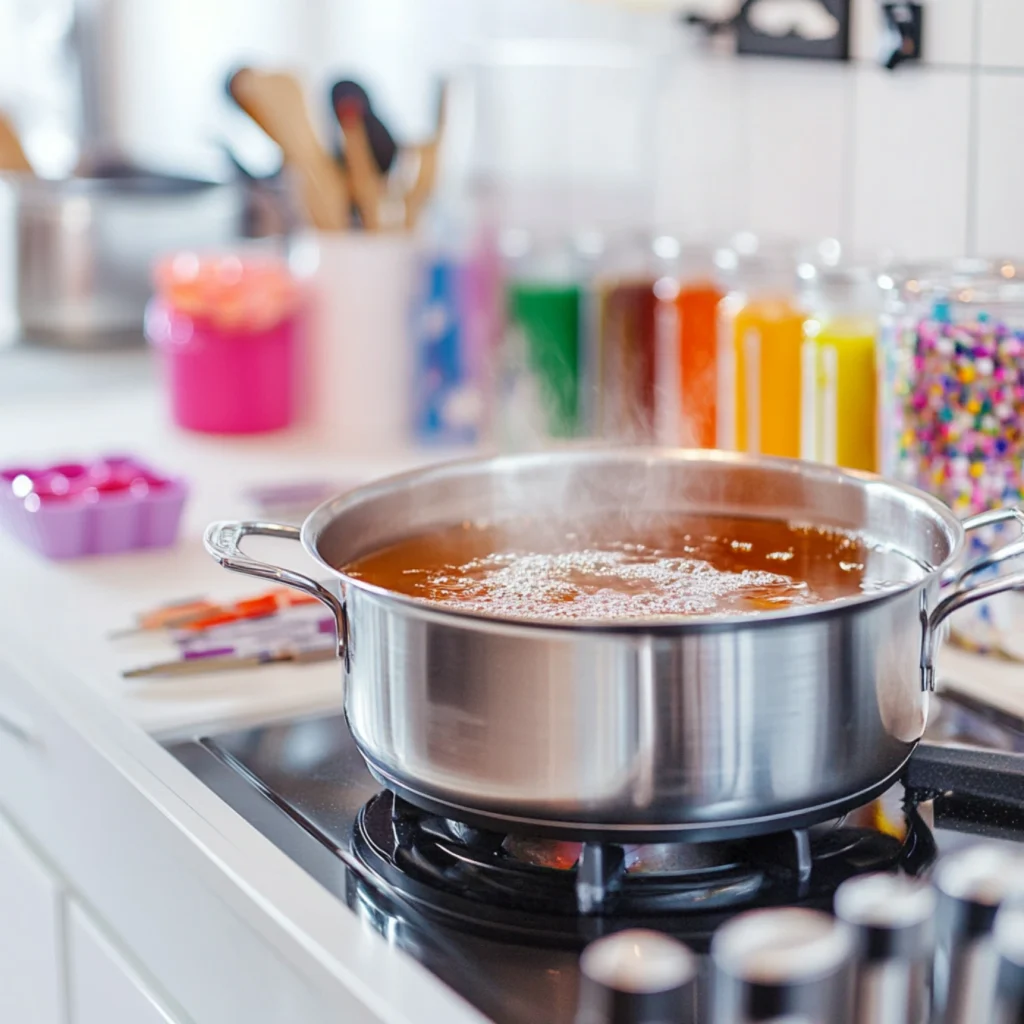
First step: Get the sugar syrup ready.
- Combine sugar and water over medium heat in a medium saucepan, swirling constantly.
- Stirring will help the sugar dissolve entirely and clarify the mixture.
- Boil gently; lower the heat and let it simmer for five minutes.
- Turn off the heat and whisk in the food coloring and flavoring extract.
- Give the mixture fifteen to twenty minutes to cool.
Second step: Get the strung or skewers ready.
- Into the warm sugar syrup, dip the wooden skewers or strings.
- Roll them in granulated sugar; let them dry for roughly one hour to start the crystal growth.
Set Up the Crystal Candy Jar in the Third Step.
- Spoon the cooled sugar syrup into a heatproof cup or a clean glass jar.
- Using clothespins, suspend the sugar-coated skewers or threads in the jar so they do not come into touch with the bottom or side.
The fourth step is to let the crystals flourish.
- Set the jar at room temperature in a calm, undisturbed spot.
- Patience is great! Over the next five to seven days, the crystals will incrementally expand.
Remove and dry the candy in step five.
- Take the candy out of the jar once the crystals have grown to the proper dimension.
- Let them set for one hour before eating.
- Enjoy your lovely handmade crystal sweets right now!
For another gorgeous and glossy dessert, try this Chocolate Cobbler Recipe, which features rich, melted chocolate layers.
Pro Advice for Excellent Crystal Candy
✔ Use Clean Jars: Any remaining oil or residue can impede crystal development.
✔ Don’t Move the Jar: Disturbing the syrup can prevent crystal development.
✔ Want Bigger Crystals? Let them develop for seven whole days for more rock candy.
✔ Experiment with Colors & Flavours: For a combination of colors, try stacking several flavors in individual jars.
✔ Humidity Can Affect Growth: The crystals might form somewhat later in a humid environment.
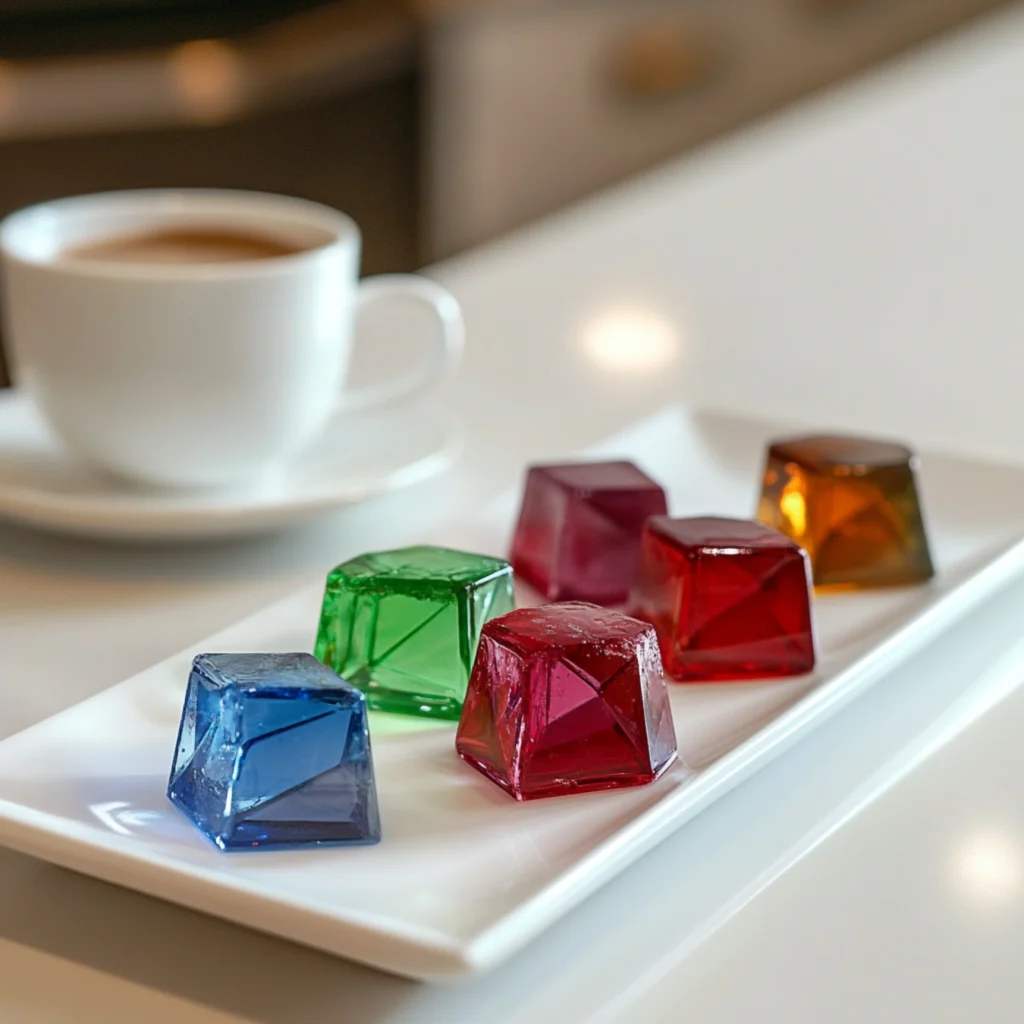
Perfect for kids and candy aficionados, Crystal Candy is best served and enjoyed as a fun snack!
🍼 As a Stir Stick for Drinks, toss a crystal stick into tea, lemonade, or cocktails.
🎁 Present these as a homemade gift wrapped in cellophane bags for a distinctive party favor or holiday treat.
🎨 Use them as edible embellishments for cakes and cupcakes.
Bonus Idea: Create a stunning candy display with a batch in rainbow hues.
Make Ahead and Organization and Storage
Respecting Leftovers
Store in room temperature, sealed container for up to two months.
Steer them clear of humidity since moisture might dissolve the crystals.
Frequencies of Questions
Why is my rock candy developing?
Some likely causes:
✔ The sugar syrup lacked sufficient saturation, thus ensuring the complete dissolution of the sugar.
✔ The rope or skewer made contact with the jar’s sides, stopping expansion.
✔ The surroundings are too humid; keep the jar dry and cool.
Is it possible to accelerate the crystal development?
Crystals, sadly, take time. However, allowing the sugar syrup to cool completely before running the skewer will enable crystals to develop more quickly.
Could I instead use brown sugar?
Indeed! Brown sugar produces deeper flavor and darker, caramel-like rock candy.
How best should the candy be taken out of the jar?
Should the crystals adhere to the jar, jiggle the skewer or string until it comes free. To assist in candy release, dip the bottom of the jar in warm water for a few seconds as needed.
Conclusion
This homemade crystal candy is stunning, entertaining, and delicious, the perfect fusion of science and sweets! Watching the crystals steadily grow is just as fascinating as eating them, whether your intended use is for a party, a present, or simply for enjoyment.
Try it; let the wonder of sugar crystals astound you! 🍭✨
Enjoy and happy candy-making! 😊
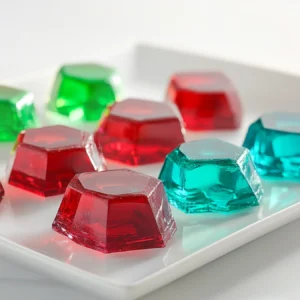
Homemade Crystal Candy
Ingredients
- 2 cups 400g granulated sugar
- 1 cup 240ml water
- Food coloring optional
- ½ tsp flavor extract e.g., vanilla, cherry, mint (optional)
- Wooden skewers or cotton strings
- Clothespins or clips to hold skewers in place
Instructions
Step 1: Prepare the Skewers or Strings
- Soak the wooden skewers in water for 5 minutes, then roll them in sugar. Let them dry completely—this helps the crystals form faster.
- If using strings, tie them to a pencil or a stick so they hang inside a glass jar without touching the sides.
Step 2: Make the Sugar Syrup
- In a saucepan, heat water over medium heat. Slowly add sugar while stirring continuously.
- Keep stirring until all the sugar dissolves and the mixture reaches a simmer. Do not let it boil too long.
- Remove from heat and add food coloring and flavor extract if desired. Stir well.
Step 3: Set Up the Crystallization
- Carefully pour the hot sugar syrup into clean glass jars.
- Place the prepared skewers or strings into the jars, making sure they do not touch the bottom or sides. Secure with clothespins or clips.
Step 4: Let the Crystals Grow
- Place the jars in a cool, undisturbed area. Cover loosely with a paper towel to keep dust out.
- Wait 5-7 days for the sugar crystals to form. The longer you wait, the larger the crystals will grow.
Step 5: Finish and Serve
- Once the crystals have grown to your desired size, carefully remove them and let them dry for a few hours.
- Enjoy your homemade crystal candy or wrap them as gifts!
Notes
- The slower the crystallization process, the larger and clearer the crystals will be.
- Using distilled water instead of tap water can result in clearer crystals.
- If no crystals form after 24 hours, try reheating the syrup, adding a bit more sugar, and restarting the process.